
Introduction
The life of a laptop heavily depends on its battery’s performance and condition. Acer Chromebooks are celebrated for their portability and robust battery life, but over time, even these reliable devices show signs of battery degradation. When your Chromebook starts losing charge quickly or powers off unexpectedly, it’s a clear indication that a battery replacement might be necessary. This comprehensive guide will provide insights into identifying when a battery replacement is needed, walk you through the replacement process, and offer tips to extend the longevity of the new battery.
Understanding Acer Chromebook Batteries
Acer Chromebooks utilize lithium-ion batteries, which are renowned for their efficient energy storage and relatively long lifespan, typically lasting three to five years. However, several factors such as usage habits, charging behavior, and environmental conditions can influence their overall lifespan. Understanding these factors is crucial for proper maintenance and timely battery replacements, ensuring that your device continues to perform optimally over time.
Types of Batteries in Acer Chromebooks
Most Acer Chromebooks are equipped with either lithium-polymer or lithium-ion batteries. While each type has its own benefits, they all face the inevitable challenge of degradation after numerous charge cycles and exposure to heat. Knowing your specific battery type can guide replacement decisions and help in selecting the appropriate maintenance techniques, ultimately safeguarding your investment in the long run.
Average Battery Lifespan
Typically, a Chromebook battery is designed to last between 500 and 1000 charge cycles. As the number of cycles increases, the battery’s ability to hold a charge diminishes, leading to shorter usage times between charges. Monitoring the battery’s performance and recognizing the early signs of wear can help predict when a replacement will be necessary, preventing unexpected downtimes.
Signs Your Acer Chromebook Battery Needs Replacement
It’s essential to recognize the warning signs indicating your Chromebook’s battery requires immediate attention. Key indicators include rapid battery drain, a device that only functions when plugged in, overheating during charging, and a swollen battery or distorted case. Identifying these symptoms early and preparing for a battery replacement ensures the longevity and optimal performance of your device.
Preparing for Battery Replacement
Before you embark on replacing your Acer Chromebook battery, ensure you have the necessary tools and understand the safety measures involved. Proper preparation minimizes risks and guarantees a smooth transition during the replacement process.
Tools and Materials Needed
- A new Acer Chromebook-compatible battery
- Precision screwdriver set
- Plastic pry tools
- Anti-static wrist strap or surface
Safety Precautions
- Power off the Chromebook and disconnect all external power sources.
- Work on a non-conductive surface to prevent static discharge that could potentially damage internal components.
- Wear an anti-static wrist strap if possible, to safeguard sensitive parts of the device.
With the right tools and precautions, you can safely proceed with replacing the battery, reducing the risk of damaging the internal system.

How to Replace the Battery in Your Acer Chromebook
Here’s a step-by-step guide to replacing the battery in your Acer Chromebook, ensuring a seamless restoration of your device’s battery performance:
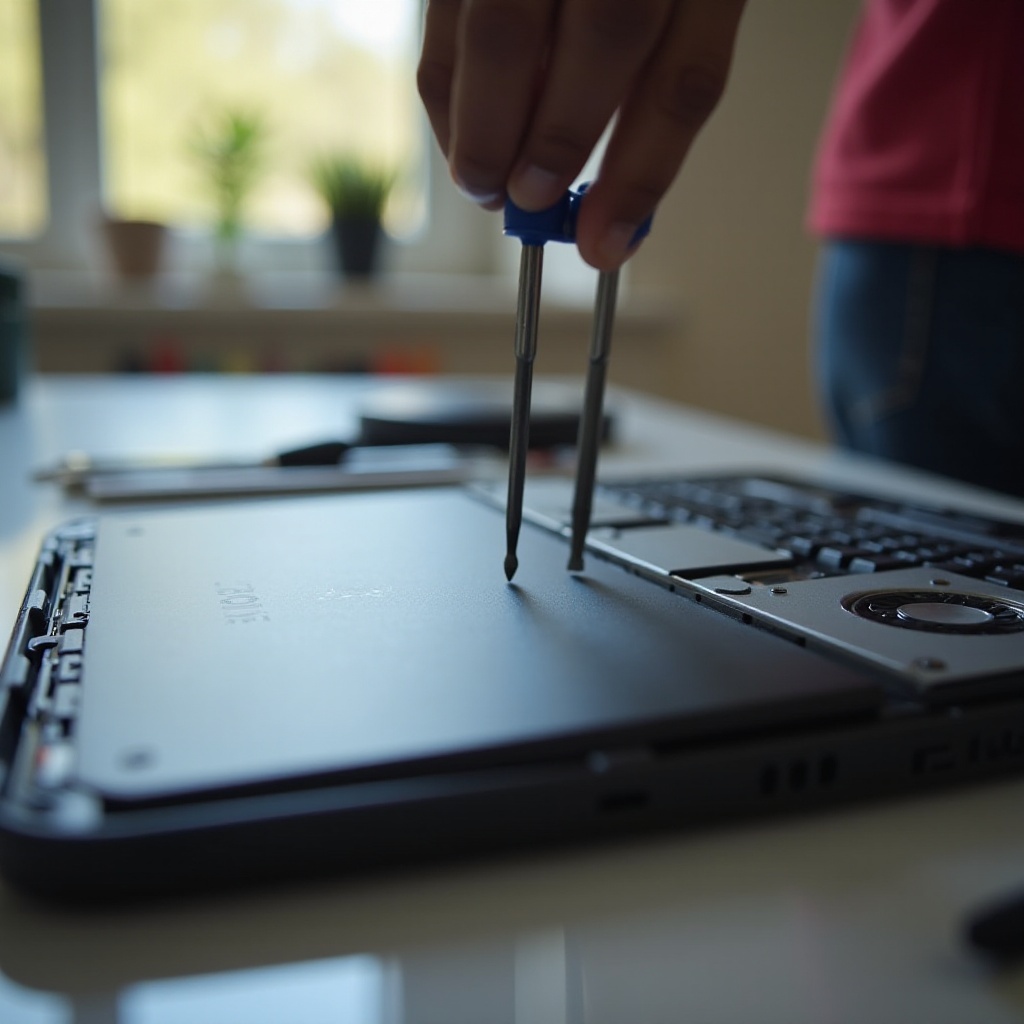
Step 1: Removing the Back Cover
- Flip the Chromebook face down on a cushioned surface to prevent scratches.
- Use a precision screwdriver to remove screws securing the back cover.
- Carefully employ a plastic pry tool to release the back cover without damaging the clips.
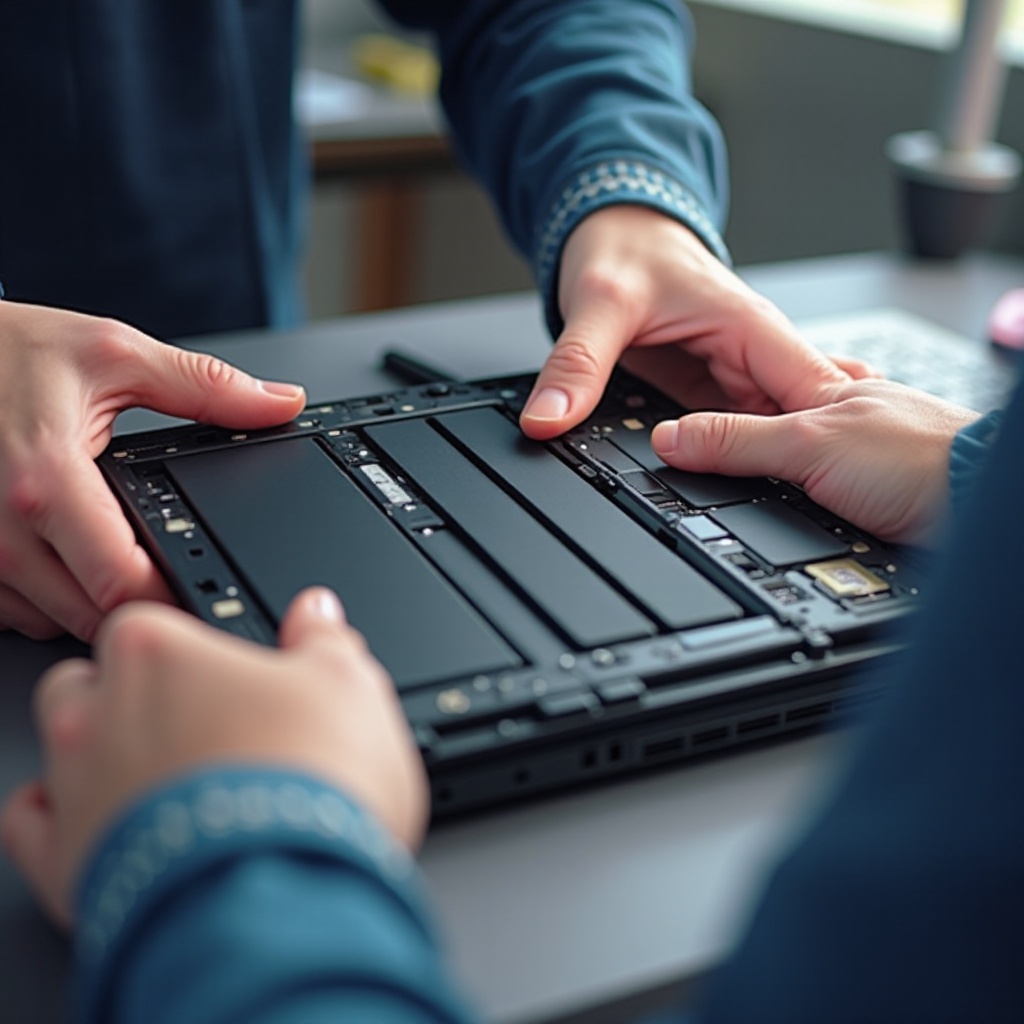
Step 2: Disconnecting the Old Battery
- Locate the battery connector attached to the motherboard.
- Gently unplug the battery connector using a pry tool for added safety.
- Remove screws that secure the battery and carefully lift it out of the compartment.
Step 3: Installing the New Battery
- Position the new battery in the designated compartment ensuring proper alignment.
- Secure the battery with screws that were previously removed.
- Firmly connect the battery’s cable to the motherboard, ensuring a stable connection.
Step 4: Reassembling the Chromebook
- Reattach the back cover, ensuring that all clips are accurately aligned and snapped into place.
- Secure the back cover with bolts, using your precision screwdriver.
- Power on the Chromebook to confirm that it’s functioning correctly and to check for any issues.
By systematically following these steps, you can effectively reinstall a new battery, restoring the Chromebook’s energy efficiency and longevity.
Troubleshooting Post-Replacement Issues
While a new battery should breathe fresh life into your Chromebook, challenges can sometimes arise. Knowing how to troubleshoot these can help maintain device performance.
Common Problems and Solutions
- If the battery is not charging, check and ensure that all connections are secure and that screws are not over-tightened.
- Should the Chromebook fail to power on, verify that the battery connector is properly seated.
- For any performance issues, perform a hard reset by pressing and holding the refresh button and the power key simultaneously.
Proactively addressing these issues ensures your replacement process is successful and your device’s performance is sustained.
Tips for Prolonging Battery Life
Maximizing the lifespan of your new battery involves adopting consistent care and optimal usage habits. These simple practices will help maintain the health of your device’s battery.
Charging Best Practices
- Avoid letting the battery frequently discharge completely.
- Disconnect the charger once the battery reaches full capacity.
- Maintain the battery level between 20% and 80% for optimal performance and longevity.
Software and Settings Optimization
- Ensure that software is regularly updated for enhanced power efficiency.
- Adjust screen brightness and close unnecessary applications to conserve battery.
Implementing these tips can significantly enhance your Chromebook’s battery life, facilitating an efficient and productive experience for years to come.
Conclusion
Undertaking a battery replacement for your Acer Chromebook is a straightforward task that can extend the device’s lifespan and ensure consistent performance. By identifying the need for replacement, understanding the process, and applying the proper care techniques, you can optimize your Chromebook’s functionality and efficiency, paving the way for a seamless computing experience.
Frequently Asked Questions
Can I replace my Acer Chromebook battery myself?
Yes, with the appropriate tools and guidance, you can safely replace your Acer Chromebook battery.
How often should I replace my Chromebook battery?
Typically, every three to five years or when you notice a significant drop in performance.
Where can I purchase a replacement battery for my Acer Chromebook?
Purchase from reputable electronics retailers or directly from Acer’s authorized service providers for compatibility assurance.