
Introduction
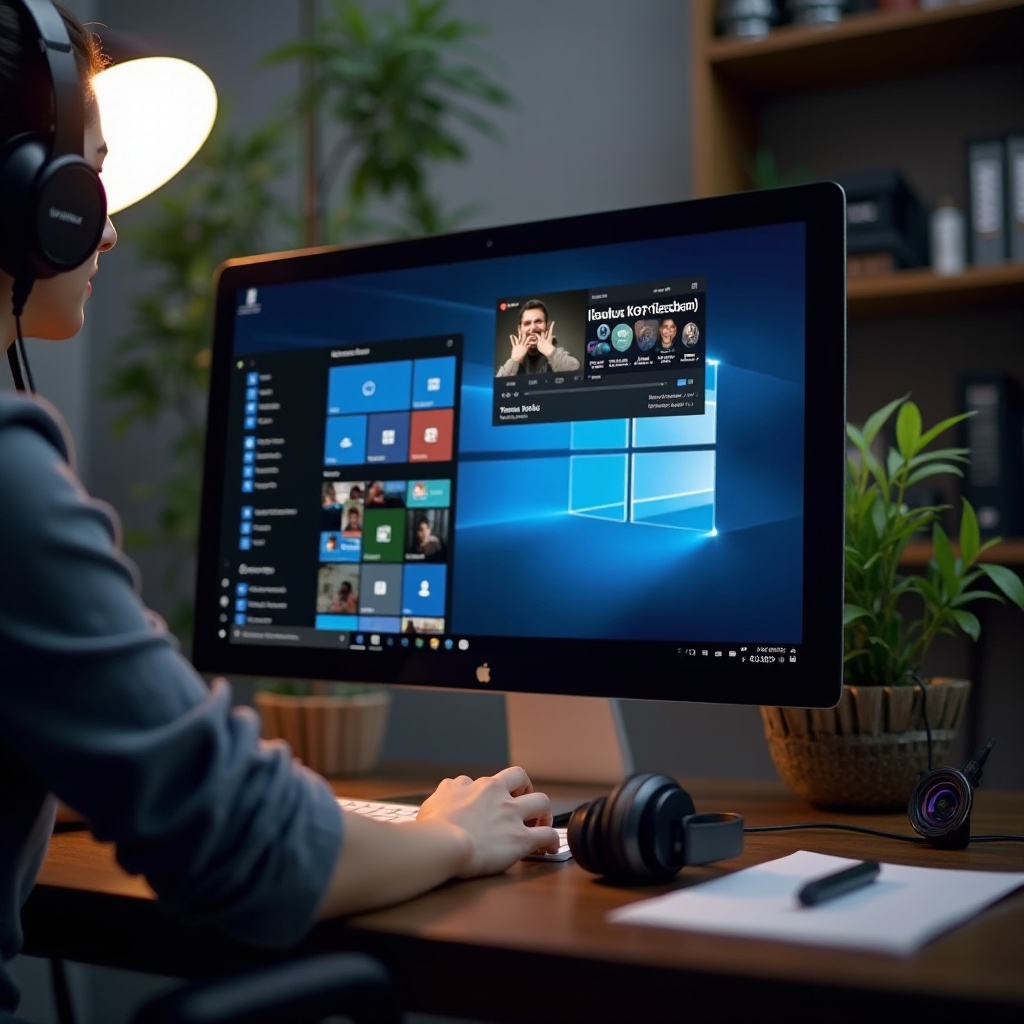
Screen recording with audio on Windows 10 has become a pivotal tool for professionals and hobbyists alike who seek to create compelling tutorials, presentations, or gaming content. Whether you’re crafting a quick tutorial for a colleague or designing professional content destined for YouTube, mastering the integration of screen visuals with audio narration is essential. This guide explores multiple methods to achieve high-quality screen recordings with sound, considering both the built-in capabilities of Windows and several popular third-party applications. We’ll provide a thorough overview to equip both beginners and seasoned veterans with the resources to select the best tool fitting their needs.
Understanding the Importance of Screen Recording with Audio
The synergy of video and audio in screen recording establishes a rich medium for engaging and informative content. By capturing both video and sound, you can significantly enhance educational experiences, demonstrate intricate installations, and highlight dynamic gaming moments. The importance of audio can’t be overstated as it conveys essential emotional cues, tone, and precise instructions. Armed with proper techniques, creating captivating, educational guides becomes an achievable goal, ensuring your audience remains engaged and informed.
Built-in vs. Third-Party Tools for Windows 10
When considering options on Windows 10 for screen recording, one can opt for the embedded tools or explore third-party software. Each approach brings its unique strengths and limitations, guiding your decision based on specific requirements and varying levels of technical proficiency.
Pros and Cons of Built-in Tools
Windows Game Bar offers a seamless solution for screen capture without necessitating additional installations. Its integration within the operating system ensures smooth operation and user-friendly access. For those who value simplicity and convenience, the built-in tools present a perfect choice, negating the need for extensive technical know-how.
Advantages of Third-Party Software
If advanced functionalities are what you seek, third-party applications like OBS Studio, ShareX, and Camtasia offer robust features and enhanced performance. These tools provide greater customization options, superior editing capabilities, and the flexibility needed for complex recording tasks. They are particularly suitable for professional content creators demanding precision and adaptability in their projects.
How to Record Screen Using Windows Game Bar
The Windows Game Bar is a go-to built-in tool tailored for recording screen occurrences with audio. Initially crafted with gamers in mind, its features extend beyond to cater to varied recording requirements.
Configuring Game Bar
- Access “Settings” via the Start menu.
- Navigate to “Gaming” and select the “Game Bar” tab.
- Activate the Game Bar by toggling “Record game clips, screenshots, and broadcast using Game Bar”.
Detailed Recording Instructions
- Simultaneously press the “Windows + G” keys to initiate the Game Bar.
- Within the Game Bar overlay, engage the “Start Recording” feature (represented by the circle icon).
- To incorporate audio, ensure the microphone icon is activated.
- Conduct your desired screen activities during the live recording.
- Halt the recording by clicking the red recording button or using the “Windows + Alt + R” shortcut.
- Locate your finished videos within the Xbox app under the “Captures” folder.
Exploring Popular Third-Party Screen Recording Software
For enhanced screen recording experiences, multiple third-party applications provide innovative features and customization options to meet various demands.
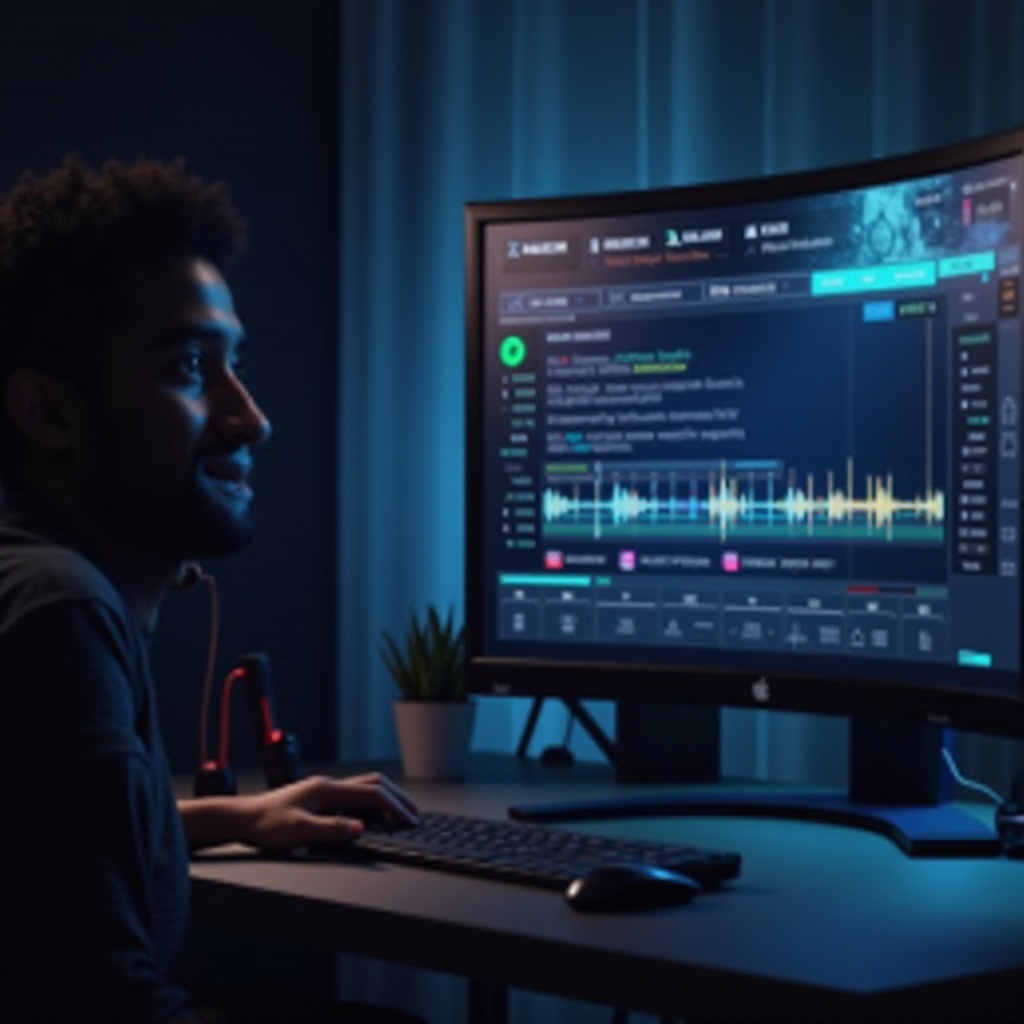
Overview of OBS Studio
OBS Studio stands out as a robust, open-source option favored by various streamers and content creators. It supports multiple input sources, enabling comprehensive real-time video and audio capturing alongside extensive configuration possibilities.
Highlights of ShareX
ShareX is a lightweight, open-source tool celebrated for its ease of application and comprehensive functionality. It allows users to record particular regions, full screens, or specific windows, with customizable workflows and multiple export formats, making it a versatile choice.
Benefits of Camtasia
Camtasia provides a premium solution combining screen recording with advanced video editing functionalities. It’s the preferred choice for professionals aiming to produce finely polished video content as it merges high-quality recording features with superior editing tools.
Best Practices for High-Quality Screen Recordings
Ensuring top-tier quality in screen recordings necessitates a focus on both audio clarity and optimized video settings.
Ensuring Clear Audio
- Opt for a high-grade microphone to secure precise sound capture.
- Mitigate background disturbances by choosing a quiet recording setting.
- Calibrate audio input levels to avert audio distortion or clipping.
Optimizing Video Settings
- Film at a suitable resolution (e.g., 1080p) for sharp visual quality.
- Select an optimal frame rate (either 30fps or 60fps), catering to your audience’s expectations.
- Employ software presets designed to boost your recording goals.
Troubleshooting Common Screen Recording Challenges
Even when adopting the finest tools, technical obstacles may occasionally disrupt the screen recording process. Let’s address frequent issues and their remedies.
Resolving Audio Synchronization Concerns
- Experiment with alternative audio codecs or record through alternative software to avert sync discrepancies.
- Keep your recording software updated for optimal performance.
Addressing Video Lag
- Terminate non-essential applications to reclaim system resources.
- Consider reducing the recording’s resolution or frame rate to facilitate smoother operations.
- Ensure your graphics drivers are current to enhance performance.
Conclusion
Mastering the ability to record your screen with audio on Windows 10 opens expansive possibilities, serving diverse purposes such as educational content creation and interactive gameplay sharing. Familiarizing yourself with both integrated and third-party tools allows for informed decision-making tailored to your needs. Adhering to best practices ensures your recordings achieve professional quality, resonating effectively with viewers. Meanwhile, addressing typical challenges promptly minimizes disruptions, leading to seamless content creation. This comprehensive guide provides the foundational knowledge required to excel in producing engaging and informative screen recordings.
Frequently Asked Questions
Can I record screen with audio using Windows 10 without any software?
Yes, the built-in Windows Game Bar can record your screen with audio without needing additional software.
What is the best software for screen and audio recording on Windows 10?
OBS Studio, ShareX, and Camtasia are popular choices, each offering different features to suit various recording needs.
How do I ensure the audio quality is good in my screen recordings?
Use a high-quality microphone and record in a quiet environment to ensure clear audio.