Introduction
As the digital landscape expands, ensuring safe navigation becomes a priority, and for this reason, Windows 10 has integrated the SmartScreen filter. This security tool acts by verifying site and app authenticity, providing an extra layer of defense against potential threats. However, there are scenarios where SmartScreen’s interventions might prove overwhelming, especially for tech enthusiasts, software developers, or users frequently delving into third-party applications. Understanding how to disable SmartScreen is valuable in maintaining streamlined device control and performance, allowing an unobstructed user experience.

What is Windows SmartScreen?
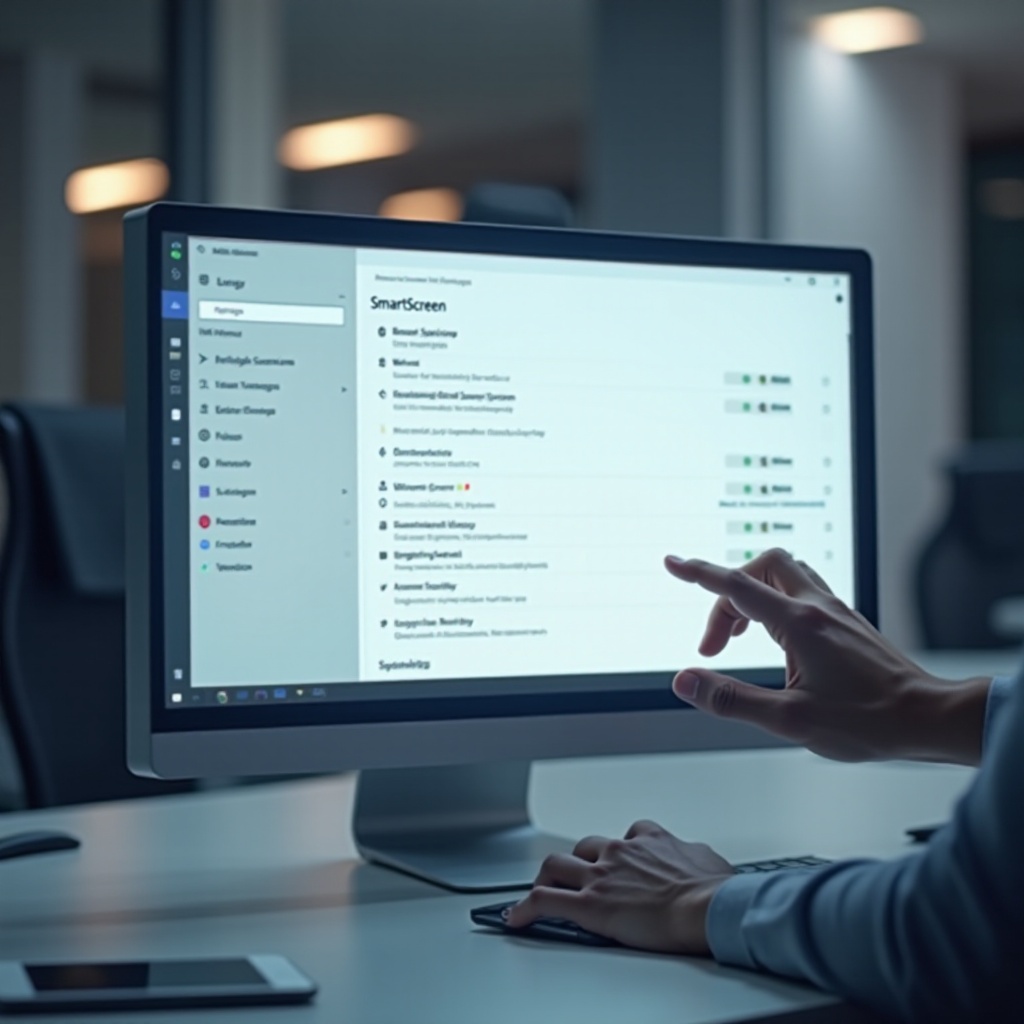
Windows SmartScreen is a protective layer crafted by Microsoft to shield users from malicious software, websites, and downloads. It operates by cross-referencing files and sites against an established database of harmful entities, warning users or blocking dubious content. As a part of Windows Defender, SmartScreen is pivotal in enhancing defenses for Windows 10 users.
Despite its benefits, advanced users with a strong cybersecurity grasp might find SmartScreen’s interventions counterproductive, particularly when handling proprietary or lesser-known software. For these users, knowing how to disable it becomes a practical consideration.
Reasons to Disable SmartScreen on Windows 10
So, why consider disabling such a robust security feature? For many, SmartScreen’s cautious nature can create significant barriers, flagging self-developed, outdated, or niche applications unjustly. These false positives might disrupt productivity, especially if your cybersecurity skills are advanced.
Additionally, the interruptions SmartScreen causes can slow down processes for tech professionals and developers needing efficient and seamless software testing workflows. Adjusting SmartScreen settings to tailor user experiences enhances operational freedoms, returning system control to the user.

Step-by-Step Guide to Disabling SmartScreen
With several methods available, each caters to distinct user needs and preferences for system oversight:
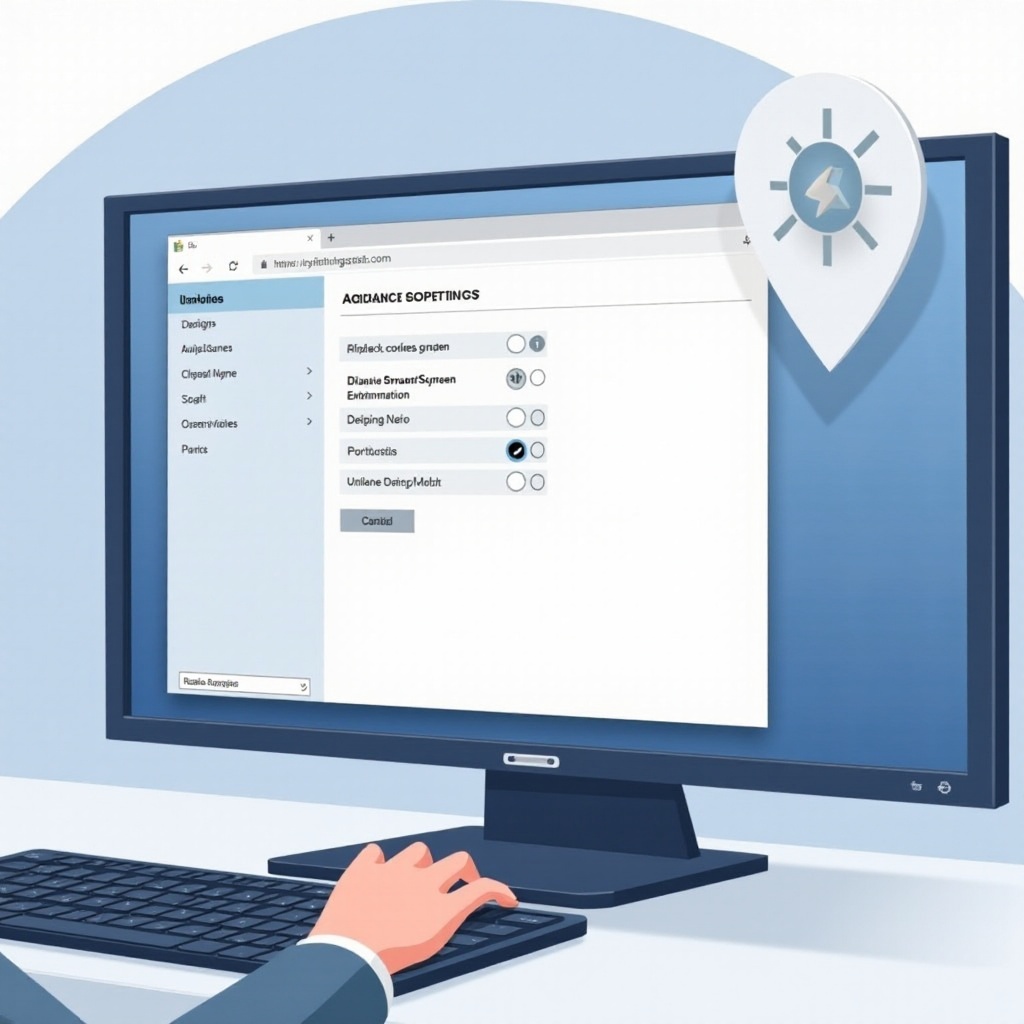
Disabling via Security Settings
- Open Windows Security: Tap the Start button, search for Windows Security, and open it.
- Navigate to App & browser control: Locate and select “App & browser control” on the left.
- Adjust SmartScreen Settings: Beneath “Reputation-based protection,” toggle “Check apps and files” to “Off.” Perform similar actions under “SmartScreen for Microsoft Edge” and “SmartScreen for Microsoft Store apps.”
- Confirm Changes: Follow any prompts to finalize your changes.
Using Group Policy Editor
- Open Run Dialog: Tap Win + R, type
gpedit.msc, then hit Enter. - Navigate to SmartScreen Settings: Within Group Policy Editor, go to
Computer Configuration > Administrative Templates > Windows Components > File Explorer. - Configure SmartScreen: Find “Configure Windows Defender SmartScreen,” and set it to “Disabled.”
- Apply and Save: Select “Apply,” then “OK” to secure your changes.
Advanced Method: Registry Editor
- Open Registry Editor: Tap Win + R, type
regedit, and press Enter. - Access SmartScreen Keys: Navigate to
HKEY_LOCAL_MACHINE\SOFTWARE\Microsoft\Windows\CurrentVersion\Explorer. - Modify SmartScreen Value: Find the “SmartScreenEnabled” value, double-click it, and change the Value data to “Off.”
- Confirm Changes: Exit the editor after ensuring all modifications are correct.
Transitioning from method to method, one builds an understanding of the flexibility Windows 10 offers in tailoring system settings to user preferences.
Re-enabling SmartScreen: Quick Actions
Should there be a need to Restore SmartScreen, simply retrace your steps in the aforementioned methods. Adjust the settings from disabled to the default configurations to reactivate SmartScreen functionalities.

Best Practices for Maintaining Security Post-Disabling
In the absence of SmartScreen, it is essential to uphold a vigilant stance on security:
- Utilize Comprehensive Antivirus Software: Invest in a reputable antivirus program that ensures continuous protection and employ advanced threat-detection features.
- Regularly Update Software: Keep applications and system patches current to leverage new security enhancements.
- Exercise Caution: Always be wary of new downloads and installations, especially those sourced externally.
These strategies will safeguard your system while SmartScreen remains inactive.
Conclusion
Learning how to disable SmartScreen on Windows 10 provides greater flexibility for advanced users, striking a balance between usability and security. While this feature is essential for many, power users benefit from having it off for specific tasks, supplemented by proactive security measures.
Frequently Asked Questions
Is it safe to disable SmartScreen on Windows 10?
Disabling SmartScreen is safe if you’re cautious and have alternative security solutions. Knowledge of online threats is key.
How do I know if SmartScreen is currently enabled?
Check the “App & browser control” section in Windows Security settings. If options are set to “Warn” or “On,” SmartScreen is operational.
Can I disable SmartScreen for specific apps only?
SmartScreen does not support selective app disabling. Consider whitelisting via third-party antivirus solutions.
